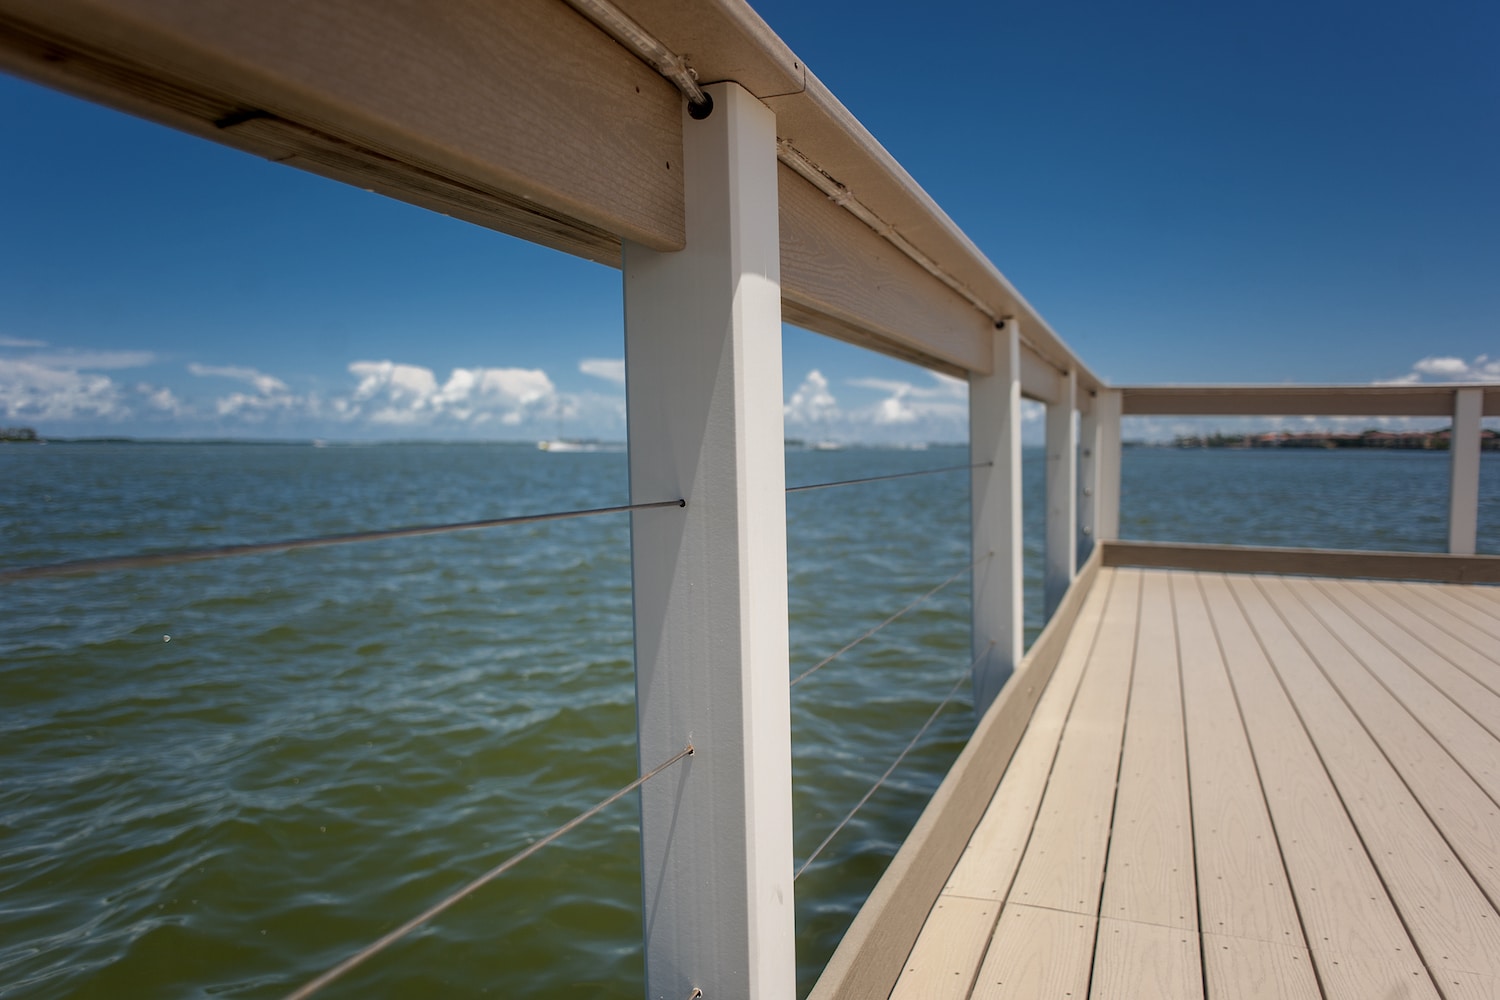
Cable railings have been widely adopted as guard and handrails of choice among homeowners, thanks to their great aesthetics, flexible use cases, and endless customization. Installing cable railings on your deck improves your home’s curb appeal and helps create a safe and secure relaxation spot.
Cable deck railings are available in various styles and designs, and you can pick one that best suits your needs. To ensure safety and durability, you want the cable railing system properly installed. Harbor Exports offers the high quality Atlantis Raileasy™ Cable Railing system.
Most homeowners with some handy DIY skills will choose to install the deck railings themselves. However, some will opt to hire a professional contractor. Below, we have discussed the DIY tips and steps you can use to install your cable deck railing.
Tools Needed
Before running your DIY cable deck railing installation, you’ll need a couple of tools and equipment. Below are some of the most important ones.
- A cordless drill or driver – for creating circular holes, inserting screws, and threaded fasteners.
- Carbide-tipped masonry bit (1/4-inch) – for drilling holes into concrete, bricks, blocks, or stones.
- Twist drill bits – for drilling through metal posts.
- One-handed bar clamps – allows for convenient one-hand operation throughout the cable deck railing installation process.
- Cable cutters – helps ensure a clean cut on the cable during installation.
- Nut driver – for tightening bolts and nuts.
- Hammer.
- Adjustable wrench.
How to Install a Cable Deck Railing
Like any other do-it-yourself project, the DIY cable deck railing installation needs some technical skills and prior experience. If you are new to cable railing installation, we’ve got you covered. We have highlighted the step-by-step deck railing system installation procedures in the subsequent pages that will save you time and ensure a safe, durable and reliable structure.
To make things even simpler for you, we have broken down the cable deck installation procedure into five major steps. The Raileasy™ system includes the tensioner, swivels, and cable for easy assembly and installation.
STEP 1: Study Your Deck’s Plan and Layout
The first and most crucial step in the cable railing installation process is to understand the layout of the decking area and the various components needed. Here, it’s recommended to study and familiarize yourself with the drawing before making any moves.
Next is to decide on the deck posts type and design to implement. For instance, you can choose metal posts and stainless steel cables of the same or varying colors and designs depending on your unique taste and preferences.
The drawing you come up with should reflect all the cabling and deck post components you intend to use. Similarly, ensure all the cable assemblies and deck posts are labeled separately, e.g., with numbers and letters, to avoid confusion.
You should also take note of the posts or cable length that will be attached to critical areas such as stair posts, concrete walls, and other structures. Checking the dimensioning of these posts and cables will ensure a smooth installation.
STEP 2: Set the End and Corner Posts
Once you have understood the layout and have all the dimensioning right, next is to bolt on all the end and corner posts. Depending on the design of the deck posts and railing system, the lag screws may or may not require pre-drilled holes. It’s advisable to choose hot-dipped galvanized or stainless steel screws to ensure durability and optimal performance.
The model of the deck posts will determine the height and the required spacing. For posts located next to a wall or any adjacent structure, ensure the space between the wall/structure and the post is not more than 4 inches.
During installation, ensure the top and sides of the corner and end posts achieve one level. This will make the deck railing system more streamlined and aesthetically appealing, plus fixing the cables will be a lot easier.
Our Atlantis Raileasy™ Cable Railings are available in heights of 36” or 42” for straight sections, and 36” for stairs.
Step 3: Install the Intermediate Deck Posts
To install intermediate posts, measure the distance between the end and corner posts, then divide this value equally, such that it matches the number of posts on the initial plan/drawing. The standard spacing is often 42 to 48 inches max and 60 inches if using cable spacers. Where possible, use mason strings to check if the top of the deck posts is all in line.
Step 4: Fix the Top Rail
There are three main types of rails you can choose to install on top of the deck posts. These are wooden, aluminum, and steel or stainless steel top rails. Wooden top rails come with screws that can be fixed from the underside of the railing post’s top plate.
The wood material should be designed for exterior use. Common examples include Tigerwood, IPE, and Garapa. Using softwoods like redwood and cedar, ensure the cross-section is thick enough to avoid bowing.
Step 5: Install Cable Railings and Fittings
After installing the railing posts and top rails, next is to fix the cables and fittings. And depending on the railing design and type of railing posts, the tools you’ll need and the skills required will vary.
A rule of thumb is to choose fittings that are easy to adjust and install. You should also familiarize yourself with the standard components and fittings to use during assembly.
How Much Cable Do I Need?
You will often tell the length of the cable you need to complete your DIY cable deck railing project by referring to the railing design or layout. If the design isn’t architecturally-accurate or is just a sketch with no dimensions, you will need to measure the cable runs and round up your measurements to ensure the cable will be long enough.
For straight runs, measure from the outside of your first end post to the outside face of your last end post. And for continuous cable runs around corners, you want to either work with pre-drilled holes or give room for any measurement errors if the holes aren’t pre-drilled.
To be more helpful, you can try this method:
- Start by measuring each cable run (distance between each post)
- Add one foot
- Multiply that times the number of cables
- Add each of the runs together to get the total amount of cable needed
Example:
Cable Run #1 = 12 feet + 1 foot = 13 feet x 10 cables = 130 feet
Cable Run #2 = 17 feet + 1 foot = 18 feet. x 10 cables = 180 feet
Cable Run #3 = 8 feet + 1 foot = 9 feet x 10 cables = 90 feet
Total Cable Needed = 400 feet
Get Started Today
Installing your cable deck railings isn’t as difficult as it may seem. Going DIY gives you the option to customize the installation, plus you’ll also save money.
Whether you are using metallic or wood posts/top rails, some railing hardware and components are a must-have. You also want to choose a rigid cable that offers the necessary support while keeping your deck and adjacent environment aesthetically appealing.
To begin your DIY project with our Atlantis Raileasy™ Cable Railing, contact us today for all the materials and information you may need.
- About the Author
- Recent Posts
Brad Enfinger has been in construction for over 20 years and has been involved with every material from concrete slab to laying the roof on houses. Brad’s diverse experience has given him the knowledge needed to assist those with shipping building materials, whether it be a house, pole barn, deck, or a dock. Brad at Harbor Exports has anything for your building material needs and can export material all over the world.


